Digital printing has revolutionized the way businesses and individuals produce high-quality prints, offering unparalleled convenience, precision, and speed. If you’re wondering how digital printing delivers such impressive results, here’s a detailed look at the process involved in creating high-quality digital prints.
1. Preparation of Digital Files
The digital printing process begins with the creation or preparation of digital files. These files are usually in formats like PDF, TIFF, JPEG, or PNG. They should be high resolution to ensure the print output is crisp and detailed. Images, graphics, and text must be properly aligned and formatted to suit the printing size and quality required.
Tip: Ensure your file has a resolution of at least 300 DPI (dots per inch) for high-quality prints. This is especially crucial for large prints, such as posters or banners.
2. Color Management and Proofing
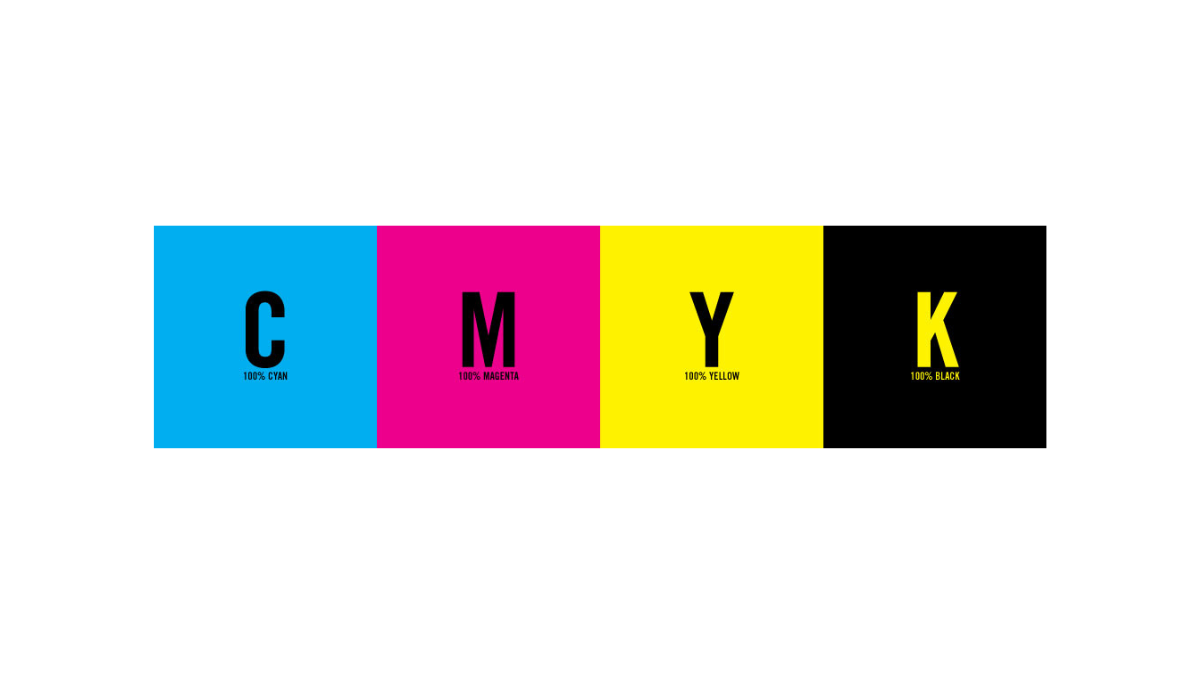
Color management is a vital step to ensure that the printed colors match what you see on your digital screen. The digital printing process uses a specific color model, often CMYK (Cyan, Magenta, Yellow, and Key/Black), so it’s important to ensure that the file’s colors are set correctly.
Proofing is done to verify how the design will appear when printed. A test print or soft proof is created to evaluate color accuracy, contrast, and layout. This step minimizes the risk of discrepancies between the digital file and the final print.
Tip: Use calibrated monitors for accurate color representation and always request a print proof before going to the final print.
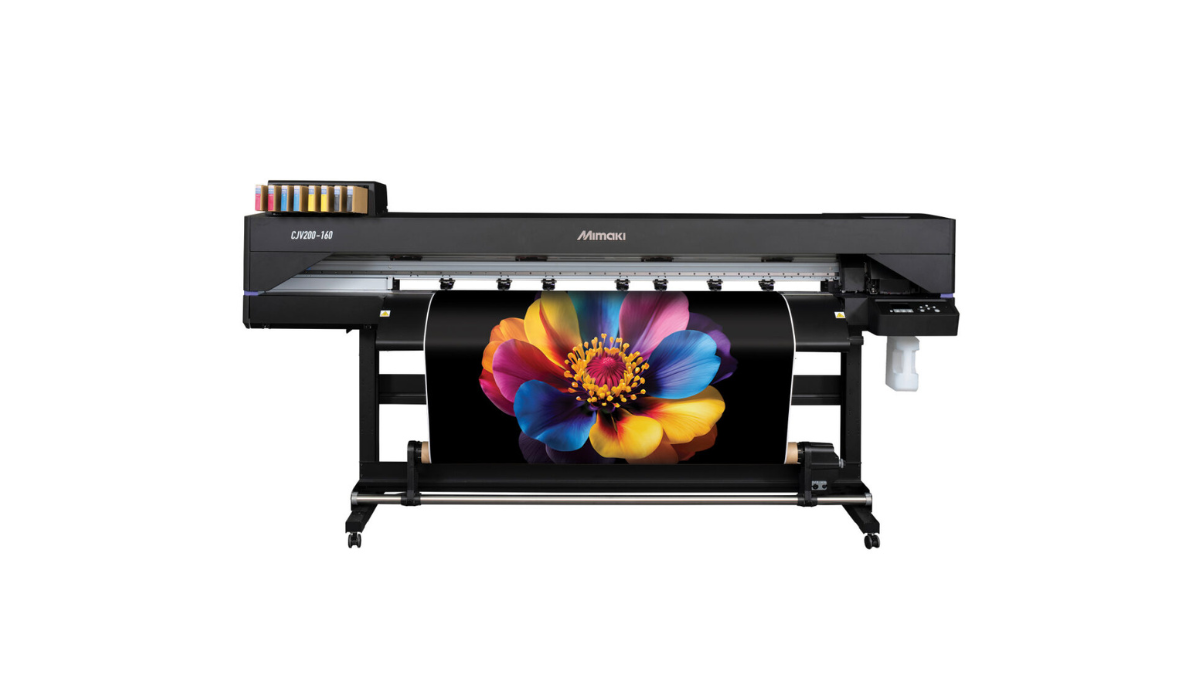
3. Choosing the Right Printer
There are various types of digital printers, including inkjet and laser printers, which are chosen based on the printing project’s needs.
- Inkjet Printers: These are commonly used for high-quality photo prints, fine art, and large-format prints. Inkjet printers spray tiny droplets of ink onto the media, creating a high level of detail and color depth.
- Laser Printers: These are used for text-heavy documents or when speed is a critical factor. Laser printers use toner, which is melted onto the media, providing sharp, clear text and good-quality graphics.
For superior quality, printers with a high resolution (such as 1200 DPI or higher) should be chosen, especially for projects like fine art prints or professional marketing materials.
4. Digital Printing Process
Once the digital file and printer have been prepared, the actual printing process begins. The printer reads the digital file and transfers the design onto the print medium (such as paper, fabric, or other substrates).
- Inkjet Printing: Involves spraying tiny droplets of ink directly onto the material in a precise pattern. This method allows for smooth gradations and vibrant colors, making it ideal for photo prints.
- Laser Printing: Uses toner that is fused to the surface of the material using heat. While laser printing typically doesn’t provide the same color vibrancy as inkjet, it is fast and effective for producing sharp text and simple graphics.
5. Drying or Curing
After the image is printed, it’s important to ensure the ink or toner has dried or cured completely. This process varies depending on the type of printer used. Inkjet prints may require time to air dry, while laser prints need to be heated to fuse the toner properly.
In some cases, UV curing systems are used to accelerate the drying process, especially in industrial applications.
6. Finishing Touches and Post-Processing
To achieve high-quality results, post-processing techniques are applied after the print is finished. This can include:
- Cutting and Trimming: Ensuring the print is the correct size and shape.
- Laminating: A protective layer can be applied to prevent fading, scratching, or damage.
- Binding: For documents like brochures or magazines, binding or stapling may be required.
7. Quality Control
Before the print job is considered complete, a thorough quality control check is essential. This ensures that the print meets the desired standards. A QC check typically includes:
- Verifying color accuracy
- Checking for any smudges, streaks, or defects
- Ensuring correct alignment and registration
- Reviewing the overall consistency of the print run
8. Packaging and Delivery
Once the print passes quality control, it is carefully packaged to avoid any damage during transit. The final product is then delivered to the customer or displayed for sale.
Tip: For high-quality prints, ensure they are packaged properly to avoid bending, creasing, or exposure to moisture during shipping.
Benefits of Digital Printing for High-Quality Results
- Fast Turnaround: Digital printing allows for quick production times, especially for short-run jobs.
- Customization: Personalization, such as custom photo frames or nikkah frames, is easier with digital printing.
- Cost-Effective for Small Runs: There is no need for costly setup fees, making it ideal for small print runs or one-off projects.
- Consistency: Digital printing provides consistent quality across multiple prints without the need for color adjustments during the run.
By understanding these steps, you can appreciate the precision and expertise that goes into producing high-quality digital prints. Whether you are creating personalized items, marketing materials, or large-scale prints, digital printing offers flexibility, speed, and unmatched quality.